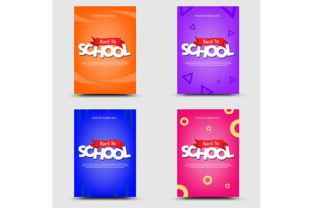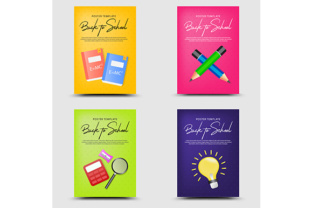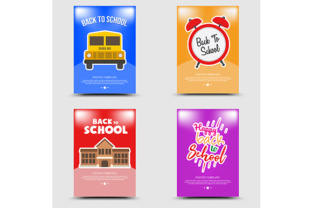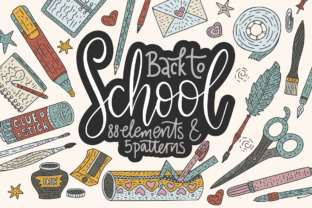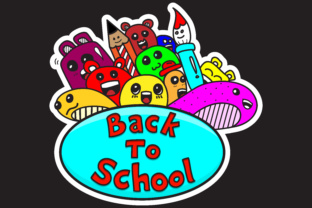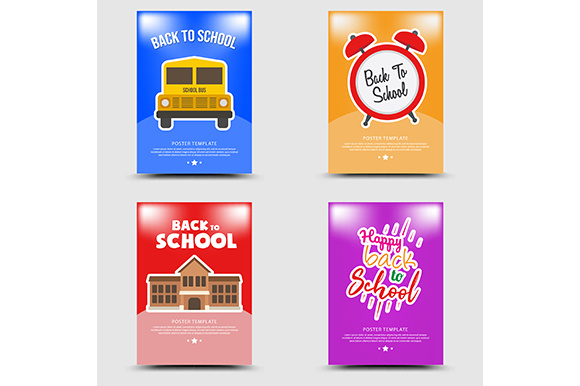
Back to School Posters: Practical Designs for Real Classrooms, Businesses, and Events
Preparing for a new school year often involves a long to-do list, and for many of us, finding the right visual materials is somewhere near the top. Whether you run a classroom, manage a small store, create content online, or simply help your own kids get ready, having a solid design resource can save hours of work. That is exactly what the Back to School Posters ZIP folder offers. Inside, you get a single JPG file and an EPS file, both ready to use. This combination gives you flexibility without overwhelming you with dozens of folders. It is a focused set that works for a wide range of real situations, from bulletin boards to Instagram posts.
Let us walk through where these files actually come in handy, who benefits most, and what you should think about before you start editing or printing. The goal here is to help you see whether this pack matches your specific needs and, if it does, how to get the most out of it.
When and Why Back to School Posters Make Sense
The obvious time to reach for these designs is late summer, when everyone starts thinking about pencils, schedules, and new routines. But the reality is that back to school themed visuals work well beyond August and September. Many educators use them for open houses in the spring. Retailers bring them out for tax free weekends or supply drives. Even homeschool co-ops use similar posters to mark the start of a new term in January or after a break.
Why do people keep coming back to this kind of resource? For one, it removes the guesswork. You do not need to start from a blank canvas or hire a designer for a single poster. A well made template gives you a clean layout, appropriate colors, and a theme that resonates with students, parents, and customers. You simply add your details, print or post, and move on. That matters when you have a hundred other tasks competing for your attention.
Another reason is consistency. If you are creating a series of announcements, signs, or social media posts, having a unified look helps your audience recognize your message quickly. The Back to School Posters pack provides that base. Because the files come in both JPG and EPS formats, you can use the same design for printed flyers and digital content without starting over.
For Educators and School Staff
Teachers and administrators probably use these posters more than anyone else. Think about the sheer number of signs a school needs at the start of a term. Welcome banners for the front door. Station signs for open house events. Reminders about bus routes or drop off procedures. A single well designed poster template can handle many of these jobs with small tweaks.
One teacher I know uses the EPS file to change the grade level and room number each year. She prints a few copies, laminates them, and rotates them as needed. For her, the real value is not in the design itself but in the time it saves. She does not need to relearn design software every August. She opens the file, makes a few text edits, and sends it to the school printer. That is it.
Another scenario is for school counselors or librarians who run events like "meet the teacher night" or "book fair kick off." A poster that says "Welcome Back" or "New Year, New Books" can be placed on an easel near the entrance. Parents see it, feel welcomed, and the event feels more organized. The JPG file works perfectly for quick printing or even for projecting onto a screen during a presentation.
For Small Business Owners and Marketers
Local businesses near schools or family neighborhoods can benefit from back to school themed signage too. A coffee shop might place a small poster near the register that says "Fuel Your School Year" with a special offer for parents. A tutoring center can use the same design to advertise fall enrollment. A retail store that sells uniforms or supplies can create a window display that catches the eye of parents driving by.
The EPS file becomes valuable here because it is fully editable. You can change the color scheme to match your brand, swap out generic backgrounds for your own photos, or add your logo and contact details. If you print on your own, the high resolution EPS gives you clean edges and sharp text. If you send the file to a print shop, they will appreciate having a vector file that scales up nicely for large format signs.
Even digital marketers can use these posters for email newsletters or Facebook ads. A simple "Back to School Sale" graphic that matches your brand but uses a familiar theme can increase click through rates. People recognize the visual cues—apple, books, chalkboard textures—and they feel a sense of timing and relevance. That is hard to replicate with a generic stock photo.
For Freelancers and Content Creators
If you create content for schools, parents, or educational brands, having a reliable design template is like having a head start on every project. A freelance graphic designer might use the EPS file as a foundation for a client project, then customize it heavily. An educational blogger can use the JPG as a featured image for a post about classroom organization. A YouTuber who makes back to school vlogs might use the poster as a thumbnail background or as a printable for a companion video.
The key here is speed. When you are juggling multiple clients or platforms, you cannot afford to build every asset from scratch. A pack like this lets you focus on the content and messaging rather than the layout. You can also offer the poster as a free download to your audience as a lead magnet, which builds your email list while providing value.
I have seen a few creators take the JPG, add their own text overlay in Canva or Photoshop, and use it as a social media story template. The clean background and balanced composition make it easy to layer additional elements without looking cluttered. That is a small thing, but it saves ten or fifteen minutes per post, which adds up over a week.
For Parents and Hobbyists
Parents are often the ones looking for back to school materials for personal use, and they have their own set of needs. Maybe you want to create a chore chart or a daily schedule to hang in the kitchen. Maybe you are hosting a back to school party for your child and their friends and need a sign for the dessert table. Maybe you volunteer for the PTA and help set up the welcome booth at the school carnival.
In these situations, the JPG file is your friend. You do not need special software. You can open it on almost any device, print it at home, or take it to a local print shop. If you want to personalize it, you can use basic photo editing tools or even a free online editor. The EPS file is there if you want more control, but the JPG handles most everyday jobs well.
One parent I spoke to uses posters like these to label bins and cubbies in her child's study area. She prints them on cardstock, writes the subject or day of the week on them, and tapes them to storage boxes. It is a simple system, but it helps her child stay organized. She told me that having a printed poster that looks intentional and not just handwritten makes the space feel more like a real study zone, which her child actually respects.
What to Consider Before Downloading and Using Back to School Posters
Before you hit download, think about exactly how you plan to use the files. This will save you frustration later. The JPG file is raster based, which means it has a fixed resolution. For most home printers and digital uses, that is perfectly fine. But if you need to print at very large sizes—say, a banner that is three feet wide—you might notice pixelation. That is where the EPS file shines. EPS is a vector format, so it scales to any size without losing quality. If large format printing is on your radar, lean on the EPS file and open it with software like Adobe Illustrator, CorelDRAW, or Affinity Designer.
Also consider the licensing. Most packs like this allow personal and commercial use, but the terms can vary. If you plan to sell the poster as part of a product or use it in a client project, double check the license included in the folder. It is better to be safe than to run into issues later.
Another practical point is the editing software you have available. The EPS file requires vector editing software. If you do not have access to that, the JPG is still very usable with basic tools. You can add text, crop, or overlay elements in free programs like Canva, Photopea, or GIMP. If you know you will need to customize colors or replace major elements, the EPS gives you far more control. If you just need to add your own text and print, the JPG often works well enough.
How Different Users Get the Most Out of the Included Files
Let us be specific about how each file type serves different needs.
The JPG file is the straightforward option. Open it, add your details, and you are done. Use it for social media posts, digital newsletters, classroom handouts, or small prints at home. The resolution is typically high enough for standard letter size or A4 prints. If you are not comfortable with design software, this is your go to file.
The EPS file is for those who want full control. You can change every color, move every element, replace the background, and add your own graphics. This is ideal for businesses that need to match brand colors, for designers who want to create variations, or for anyone planning large prints. The EPS file also preserves layers, so you can hide or show different parts of the design. That flexibility makes it a better long term investment if you plan to use the poster across multiple years or campaigns.
Real Outcomes from a Simple Poster Pack
What does using a pack like this actually do for you? It saves time, obviously. But more than that, it reduces the mental load of designing something from scratch. You are not wasting energy on fonts, spacing, or color palettes. You are focusing on your message and your audience.
It also improves the professionalism of your materials. A teacher with a polished poster at open house looks prepared and caring. A small business with a clean sign looks trustworthy and established. A parent with a well designed schedule at home creates a sense of order that helps their child transition into the school year. Those outcomes are not abstract. They affect how people perceive you and how they respond to your message.
Another outcome is consistency across channels. If you use the EPS file to create a printed poster and the JPG for Instagram, your audience sees the same colors, fonts, and layout. That builds recognition. When people see your poster at the store entrance and later see a similar graphic in their email, they connect the dots. That connection is valuable whether you are selling tutoring services, promoting a school event, or just trying to make your home feel more organized.
Finally, having both file formats gives you room to grow. Maybe this year you only use the JPG for a single sign. Next year, you might feel confident enough to open the EPS and make bigger changes. The resource scales with your skill level and your needs. That is the kind of flexibility that makes a simple poster pack worth keeping in your digital toolbox.
When you choose a resource like Back to School Posters, you are not just buying a file. You are buying a head start. You are buying the time you would have spent aligning text boxes or searching for a free font that looks vaguely educational. For anyone who has ever spent an entire evening tinkering with a poster layout, that head start is a real relief.